
Paneer is the simplest form of cottage cheese that is easy to make at home and of course widely available in Indian grocery stores and regular American grocery stores. It has basically 2 ingredients and comes together in under 30 minutes. Yes, it’s that easy, fresh and tastier that you’ll never go back to buying store bought paneer again.
Paneer is literally the simplest cheese out there, bring fresh milk up to a boil, add some sort of curdling agent; lemon juice or citric acid, and once the milk has curdled you separate the whey from the curds. That’s basically it! The final product is pure, soft, creamy curds of cheese that’s wonderful on its own or added to a recipe savory or sweet.


Ingredients for Paneer
- Full fat milk: Don’t skimp on this, good paneer is best made with whole milk, find the best money can buy. Low fat, fat free will not work. Even if you get some paneer with lower fat milk, the texture is just not the same, its dry, rubbery and does not have the mouth feel of soft paneer.
- Curdling Agent: For paneer the best milk curdling agent is citric acid, for homemade lemon juice works brilliantly, other good sources are vinegar, citric acid and whey from the previous batch or from yogurt. In my personal experience lemon, lime juice or citric acid works the best, however it does leave a mild citrus flavor, which is not bad but just for your information. .
More about the Curdling Agents
There are three different acids you can use to make paneer: Citric Acid lemon or juice, Acetic Acid vinegar and Lactic Acid yogurt. Citric acid and Lactic acid results in softer, creamier paneer. Acetic acid based vinegar will give you a really firm paneer. My preference is always citric acid in the form of lemon or lime juice or citric acid granules.
How To Make Paneer
Place the milk in a large heavy based pan. Bring the milk up to a boil. When the milk starts to roll around the perimeter of the pot and coming up, lower the heat to a simmer. Now add the diluted lemon juice little by little until you see the milk starts to curdle. Continue stirring, add the remaining acid and continue simmering until all the milk has fully curdled and the curds separate from the whey. (This will take about 5-8 minutes and it needs constant attention, so don’t step away.) You can tell this when the whey turn a little green-yellow color(see first image) once this happens take the pot off the heat. Make sure the paneer doesn’t overcook, over cooking will result in hard paneer.
If using yogurt, I recommend adding about ½ cup full fat yogurt to the milk when it comes up to a boil instead of acid. When I need softer creamier paneer I use yogurt.


How to Strain and Set The Paneer
Line a colander with a clean cheesecloth or muslin cloth and place it on a large mixing bowl or pot. Pour the entire pot of curdled milk+ whey into the cheesecloth lined colander. The paneer cheese(in the cheesecloth) will separate from the whey(in the pot below). Don’t throw the whey, it’s full of nutrients, use it as a base for you smoothies or add some lime juice and salt as a refreshing drink. Once the paneer is separated, (I like to rinse the paneer under running water to reduce the citric acid flavor, this is optional not a necessary step but I like to) bring the corners of the cheesecloth together and secure by folding the corners of the cloth over. Press to shape the cheese block into a neat square, it doesn’t have to be perfect, the idea is to form a block for easy slicing. Place a heavy object on top for 10-15 minutes like a grill press, skillet or large flat pot. This helps shape the paneer into a block for easy slicing and drain out excess moisture.
Homemade Paneer


Equipment
- Large heavy based Pot
- weight to press down
- Colander
- cheesecloth or muslin cloth
- large bowl or pot
Ingredients
- 1 gallon fresh whole milk, organic preferably
Curdling agents (use only one)
- 2-3 tbsp lemon or lime juice, diluted in ¼ cup water
- ¾ cup plain yogurt
- 1 tbsp citric acid, diluted in ¼ cup water
- 3 tbsp plain white vinegar diluted in ¼ cup water
Instructions
- Bring milk to a boil. Bring it to a simmer. Add the diluted curdling agent of your choice (lemon juice, vinegar or yogurt) and stir frequently. Simmer the milk for 3-6 minutes until the milk starting to curdle and the cuds separate from the whe..
- Take it off the heat. when whey and cheese curds seperate. Line a colander with a cheese cloth and place this over another pot or mixing bowl to catch the wheyl.
- Pass the entire content through the cheesecloth separating the curds from the whey. The paneer into the cheesecloth and the whey into the bottom pot.
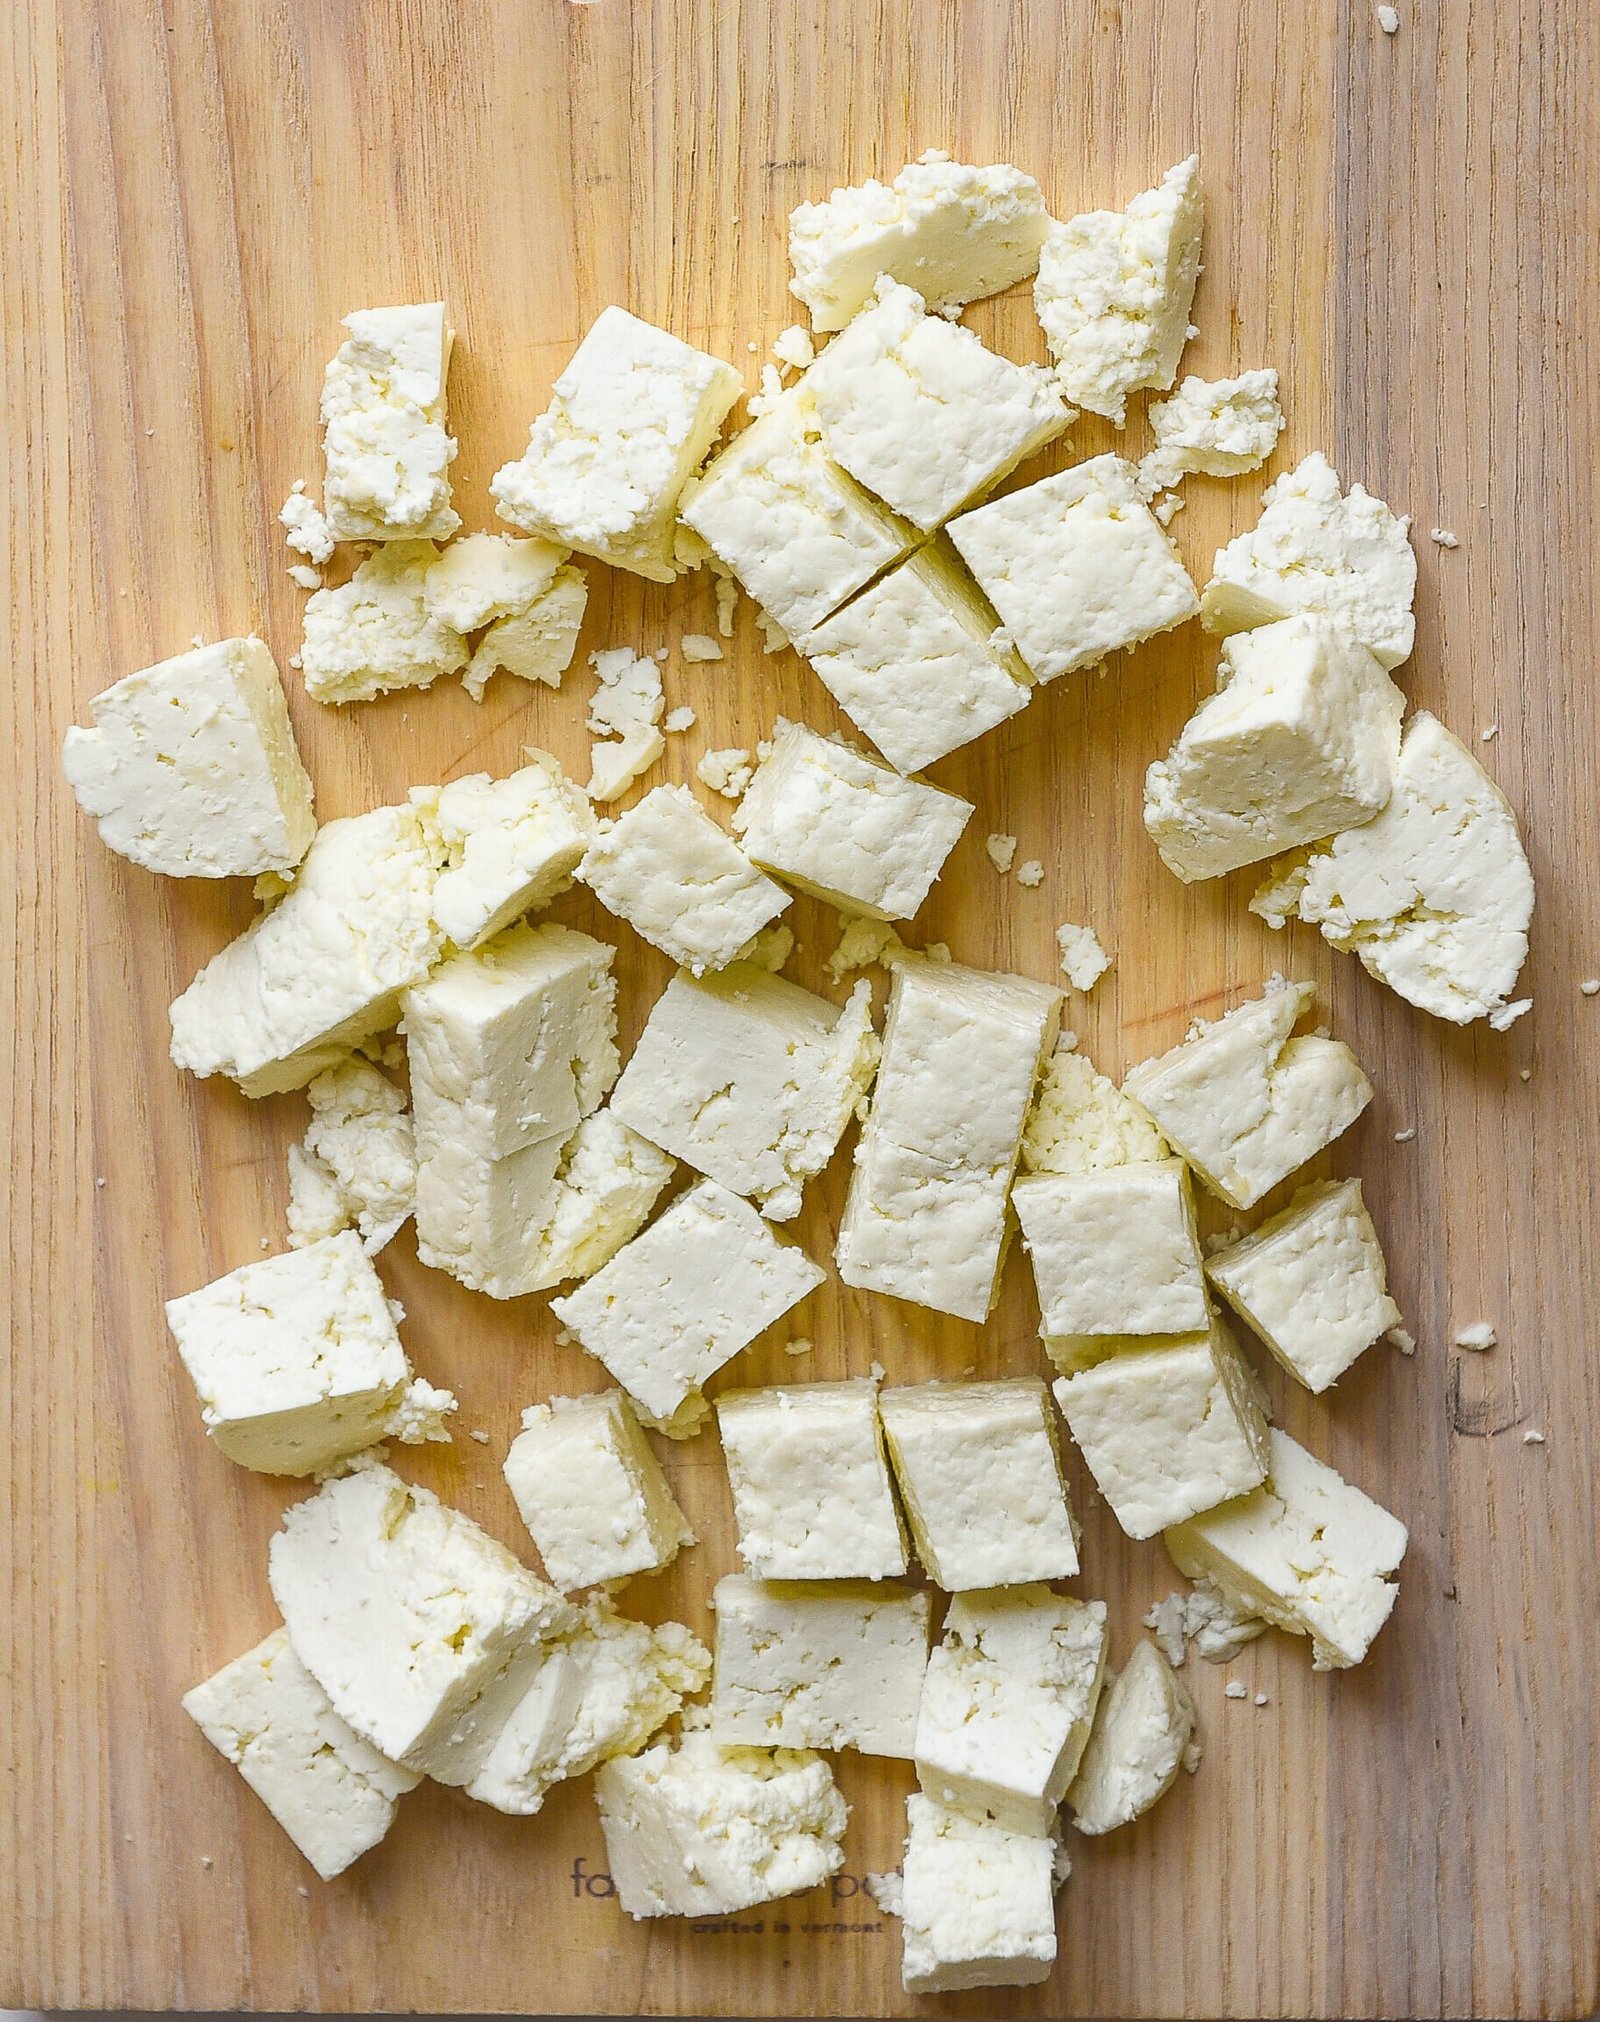
- Once cooled use the paneer as is or form into a block To shape it into a block, bring the corners of the cheesecloth together to completely cover the cheese. Place a heavy weight on it. Set this aside for 15-20 minutes. Cube and store the paneer in an airtight container in the refrigerator for up to 3 days. To freeze place rage cubed paneer in a freezer safe container and use with 3 months.
Notes
- Storage: Paneer can be stored in the refrigerator for up to 3 days. Submerge it in water to keep it fresh and soft. The water prevents it from drying out.
- Freeze: Paneer can be frozen, place the cubed paneer in an airtight freezer safe container and use within 3 months. Paneer is best made in quantities needed for your recipe. Freezing sometimes leaves the paneer dry, crumbly and with freezer burns if the air has not been completely removed before freezing.
Turned out perfectly. Nice recipes
Thank you.